Location & Light
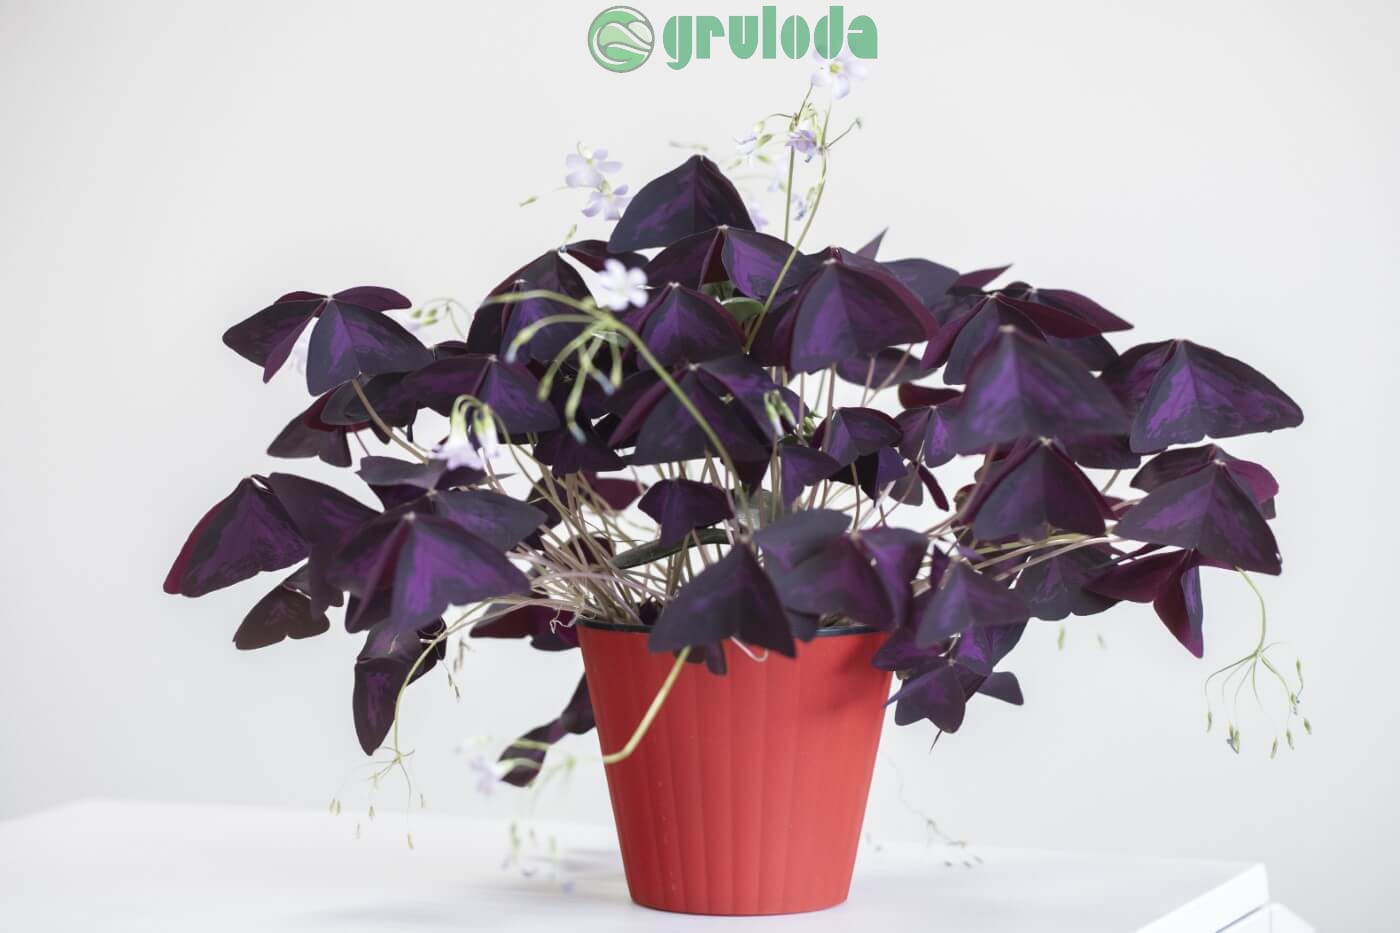
While caring for Oxalis triangularis, it is important to place the plant in a well-lit area with bright indirect light. However, it thrives when exposed to a few hours of morning or evening sun. Avoid keeping the Oxalis in a dark spot with minimal light, as this can lead to root rot and elongated phototropism. It is ideal to position the plant a few meters away from a north, east, or west-facing window in your home. Alternatively, you can consider placing it in a semi-shaded conservatory. Providing a sunny location with a few hours of morning or evening sun will help the plant thrive, especially during shorter days and longer nights.
Water; oxalis triangularis care at home
Cultivating Oxalis is relatively easy as long as you provide them with proper watering. During the active growing period, it’s important to keep the soil consistently moist, avoiding prolonged periods of drought. In autumn and winter, water the plant generously but not excessively, allowing the soil to dry out slightly between waterings. It’s crucial to avoid over-watering the plant during its dormancy period as it requires a few months of rest. Excessively soggy soil can lead to root rot. Under-watering can be identified by stunted or unreliable growth and leaf loss. These issues may be caused by factors such as excessive heat or sunlight, the plant being pot-bound, transplant shock (which exhibits similar symptoms to under-watering), or forgetfulness. On the other hand, over-watering can be recognized by rapidly yellowing leaves, lack of growth, and ultimately, plant death. To prevent the risk of diseases, it’s important to avoid water-logging and persistent soggy soil. Remember that Oxalis plants are alpines, which means they thrive in bright, relatively dry locations with good air circulation.
Humidity
During the period when heaters are running, it is advantageous to use a humidity tray for your Oxalis triangularis care. This will help establish and sustain a consistent humidity level around the plant. Dry air can lead to problems like brown leaf tips and overall decline in health, particularly during this sensitive time. By utilizing a humidity tray, you can alleviate these issues and create a more suitable environment that supports the well-being of the plant.
Fertilization
Every four waterings throughout the active growth season, it is advised to provide fertilizer to the Oxalis plant. The frequency can be decreased to every six waterings in the fall and winter. It’s crucial to remember, though, that using a “ready to pour” fertilizer without first soaking the soil might damage the roots.
Use of “Houseplant” feeds, which offer a well-balanced combination of crucial nutrients, is advised for optimum development. As an alternative, a “General-Plant” diet at half the advised strength will work. Consider applying a fertilizer with a potassium basis throughout the blooming phase if you want to lengthen the flowering time. Consider using tomato feed or “Miracle-Gro” as two possibilities for this.
Care for Dormancy & Annual Flowers
If they had a healthy dormancy period the winter before, established Oxalis plants that are two years old or older can blossom freely in the late spring. Due to the numerous difficulties we at ukhouseplants have run into with this topic, we have developed the acronym SHORT to help you through it. This acronym stands for a number of elements, including dry soil, chilly temperatures, and long, dark nights that give plants the much-needed rest they require as well as greater blossoms the next season.
Following these guidelines from fall to winter will help to achieve the optimal dormancy period.
Sunlight; oxalis triangularis care
Place your Oxalis plant in a bright location that receives a touch of winter sun. Avoid darker settings as they significantly decrease the likelihood of flowers when spring arrives.

Hydration
During the dormancy period, it is important to reduce watering so that the majority of the soil becomes dry. This helps prevent root rot and allows the plant to replicate its natural dormancy cycle.
Occasional Feeding
Supplement your Oxalis plant with one or two feeds using a ‘Houseplant’ fertilizer. It is sufficient to provide the necessary nutrients without making the soil overly nutritious, which could hinder the chances of blooms in the following year.
This serves as a reminder to lower a variety of parameters, with a focus on the temperature.
Temperature
The most critical stage is lowering the temperature. Alternately, put the plant in a room that is around 15°C (59°F) warmer than the ambient temperature to reduce the temperature by about 5°C from the summertime. As long as the inflorescence (flowering structure) is blooming, it is ideal to keep it at this lower temperature. But provided you put the plant on a pebble tray, you may move it to the main home if necessary. It’s crucial to understand that maintaining the same temperature throughout the year will put you at a disadvantage because Oxalis plants can only produce blooms in colder conditions.Never let the temperature rise above what is necessary since doing so can cause plant death or, at the very least, yellowed leaves.
| Time of Year | Care Requirements |
| January & February | Resting/Dormancy Period. Reduce irrigation and fertilization. |
| March | End of Resting/Dormancy Period. Increase watering and feed with a nitrogen-based fertilizer monthly. |
| April | Pre-Flowering Period. Use a potassium-based feed fortnightly (e.g., tomato feed). Water when soil dries out. |
| May & June | Flowering Period. Keep soil moist and provide fortnightly potassium-based feeds. |
| July | End of the Flowering Period. Gradually decrease water and fertilizer intake. Remove wilted flowers. |
| August & September | Water when the top third of the soil dries out. Supplement with houseplant or general plant fertilizer monthly. |
| October – December | Resting/Dormancy Period. Reduce irrigation and fertilization. Consider a hard-prune in December. |
Hard-Prune
Note: This step only needs to be performed every few years.
If you notice a decline in foliage during late autumn, it may be time to consider a hard-prune. This involves cutting back all the foliage just above the soil line. The purpose of this pruning is to encourage the growth of fresh and healthy leaves in the following spring. Not only will it result in a fresh batch of vibrant foliage, but it will also help eliminate any pests, such as Spider Mites, that may have hidden in the previous foliage. Refer to the last image below to see how a bare Oxalis tuber looks. Trim the petioles (leaf stalks) around an inch from the tuber and remove them by hand once they turn brown.
This is also an opportune time to separate the clump of tubers into individual pots. By doing this during the hard-prune, the chances of transplant shock are minimized, and you avoid the risk of damaging the delicate leaves. For more information on propagation, please refer to the ‘Propagation’ section below.
Place the potted tuber in a cool and bright location with nighttime temperatures around 15℃ (59°F). Maintain slightly dry soil, allowing it to partially dry out between watering. In early spring, new foliage will emerge, marking the start of the new growing season. If your plant starts producing flowers without any foliage, continue to remove the flower stalks to preserve its energy for the development of new leaves.
Common Issues with Oxalis
The most common issue with Oxalis is over-watering, which can be detrimental to their health. Extended periods of soggy soil or water-logging can quickly lead to tuber or root rot. To prevent over-watering, it’s important to provide a bright and warm location for your Oxalis plant. This location should receive one or two hours of indirect sunlight, which will help the soil dry out more quickly.
Twice a year, you can vertically stab the soil using a chopstick in several places. This process improves the flow of oxygen around the roots. However, make sure to refill the holes before watering the plant again.
By taking these precautions, you can avoid the common issue of over-watering and promote healthier growth for your Oxalis plant.
Severe dehydration can cause most of the leaves of an Oxalis plant to dry up and fall off, leaving the pot bare. While this may signify the end for young plantlets, there is still hope for more established specimens. If the tubers of the plant are still plump without any signs of shrinking, you can take steps to revive it.
Start by pruning away any seriously affected leaves and placing the plant (with its pot) inside a transparent bag. Keep the soil consistently moist and provide indirect light, ensuring the temperature remains above 15°C (59°F). Every few days, remove the bag for about an hour to allow fresh air to circulate around the tubers and soil. After a few weeks, new growth will emerge from the nodal junctions at the tips, indicating that the plant is recovering.
Maintain the sealed environment for another two weeks until you feel it is appropriate to gradually expose the plant to open air. To prevent environmental shock, consider using a humidity tray to increase atmospheric moisture around the plant. This will help ease the plant back into normal functioning and reduce the rate of water loss through transpiration, thus minimizing the risk of dehydration and further decline.
The presence of mold on the soil of your Oxalis plant indicates two common issues: insufficient light and over-watering. While the mold itself is harmless, it can be visually unappealing to most gardeners and should be addressed.
To remove the mold, replace the top two inches of soil with fresh houseplant compost. Additionally, you can take steps to address the underlying causes. If the plant is receiving inadequate light, increase the amount of light it receives gradually, avoiding direct sunlight for the first few weeks to prevent environmental shock. If over-watering is the issue, slightly reduce the frequency of watering.
If you notice yellowing lower leaves along with the mold, it could indicate a case of root rot. In such cases, it is important to address the root rot issue separately to prevent further damage to the plant.
Due to the Oxalis plant’s sensitivity to chemicals, it is not recommended to use leaf shine products to improve the appearance of its foliage. Instead, the foliage can be cleaned using warm soapy water. Failure to do so may result in the development of yellowed and mottled spots on the leaves, which cannot be reversed.
Spider mites are small, nearly transparent pests that can gradually drain the chlorophyll from the leaves. To check for their presence, inspect the undersides of the leaves, particularly along the midrib, for small webs and gritty yellow bumps. You can find more information and tips on how to eradicate spider mites in our article, which provides valuable insights you may not find elsewhere.
Insufficient humidity levels can cause browning leaf tips with yellow halos. While this won’t necessarily kill your plant, you may want to increase the moisture in the immediate surroundings to prevent new growth from exhibiting these symptoms. You can mist or rinse the foliage occasionally and create a humidity tray when the heaters are active to establish a stable environment for your plant.
Stunted or slow growth during spring or summer is often the result of excessive sunlight or insufficient watering, which are commonly interconnected. Persistent dry conditions can lead to yellowing leaves, stunted growth, and foliage deterioration. If the soil remains consistently dry and the plant doesn’t receive direct sunlight, it may be root-bound. For more information on how to perform a successful transplantation, click on this link.
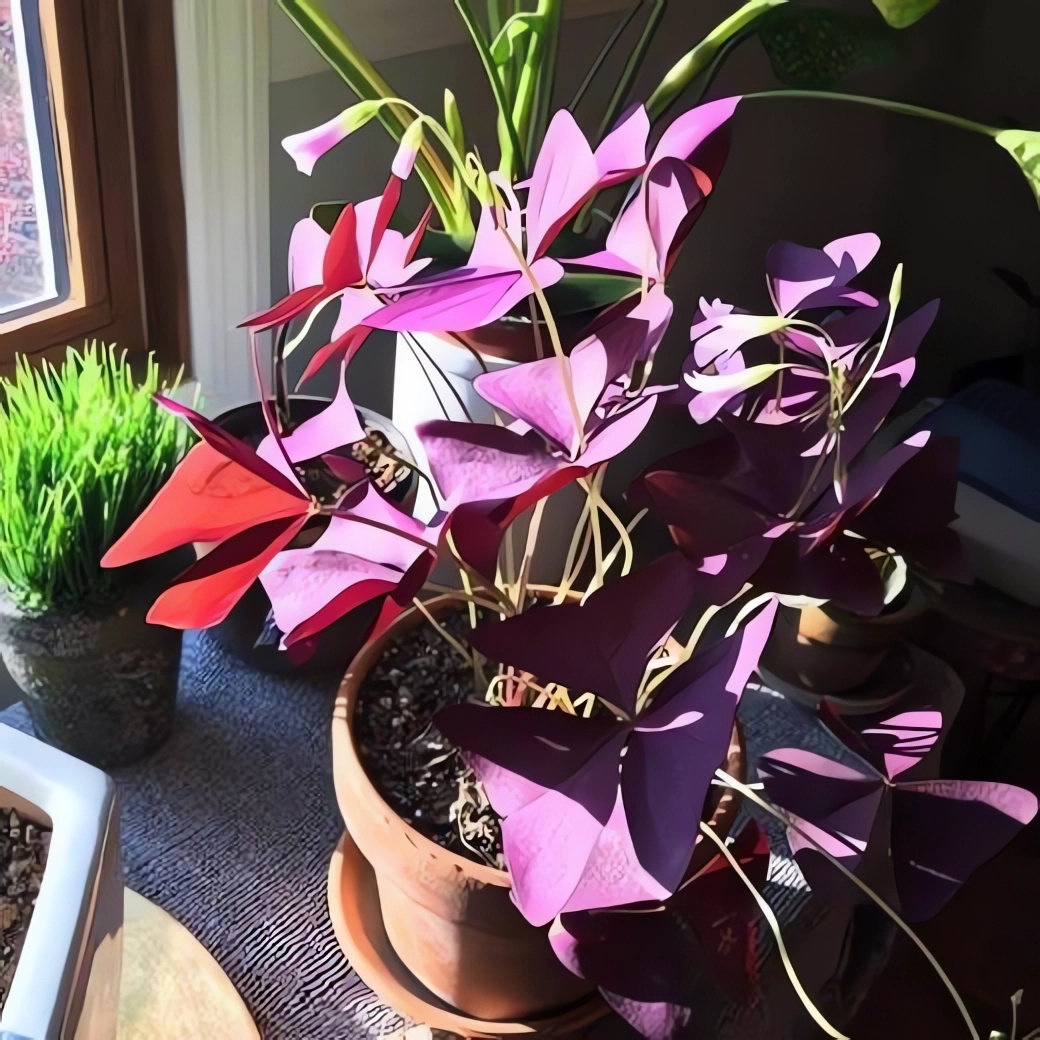
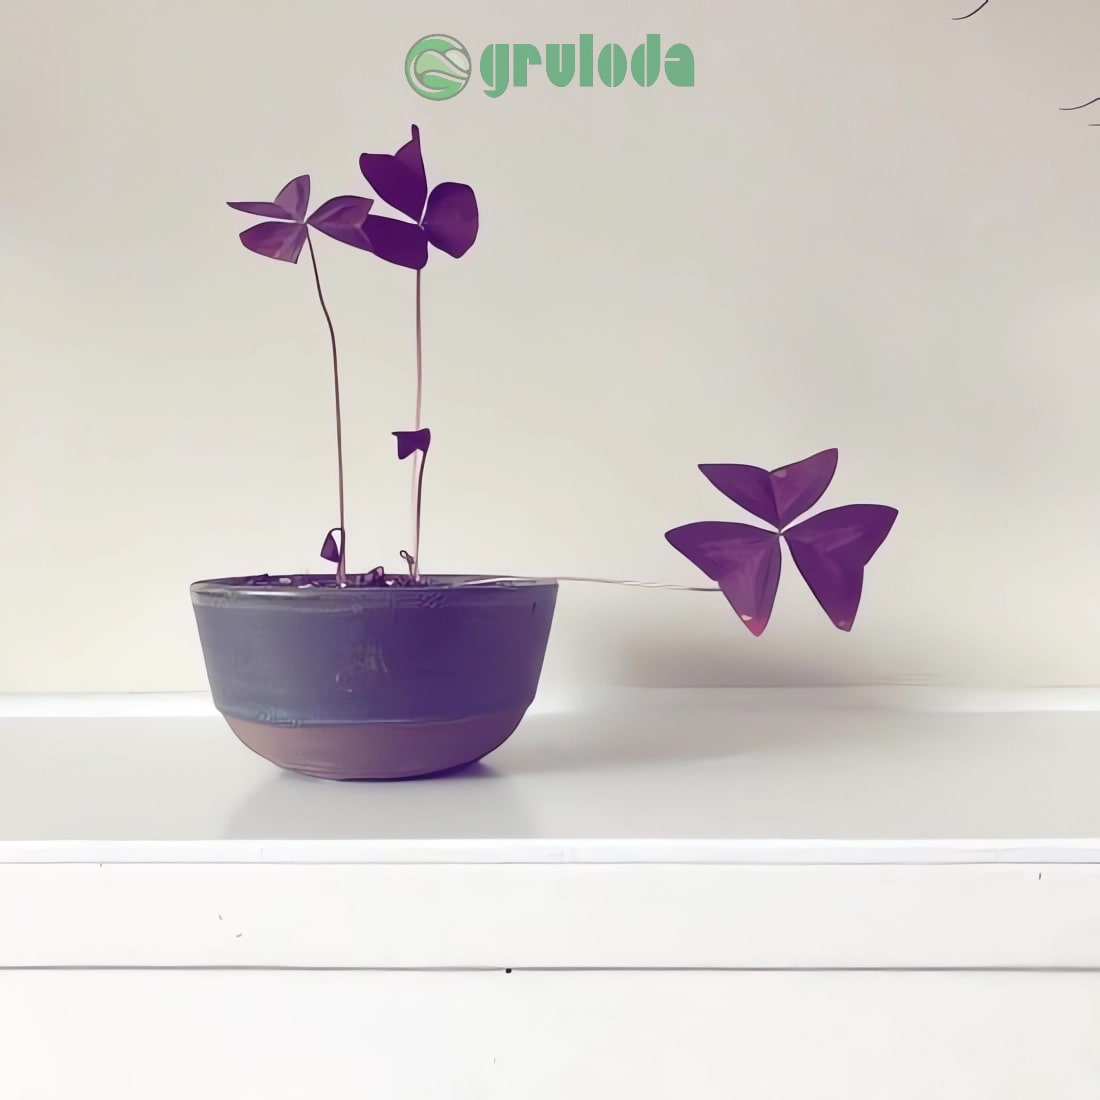
Oxalis plants exhibiting pink, green, or reddish leaves is a normal characteristic. At the beginning and end of the leaf’s life cycle, it may display a pink or reddish hue. Simply remove any dying leaves to improve growing conditions and enhance the overall appearance of the plant.
A gradual decline in leaves is typically caused by improper care during spring or summer, unless it occurs in the colder months, which is natural. To determine the cause, consider your watering practices, the plant’s location in your home, and the current time of year. During periods of drought, the plant’s natural response is to shed some of its foliage, as fewer leaves reduce the rate of photosynthesis and transpiration (water loss through the leaves).
Over-watering can also lead to issues, as it deprives the roots of oxygen in the soil. If you suspect either of these issues, take prompt action to rectify them, as continuing with the same watering routine will result in further decline.
Additionally, placing the plant in a shady location can also cause problems. If the area is too dark to read a newspaper, it is too dark for an Oxalis as well. Gradually increase the amount of light the plant receives over the next week to minimize the risk of environmental shock, until it receives about an hour of indirect sunlight.
Lastly, the plant’s decline could be attributed to its natural dormancy period during the autumn and winter months. If the leaves have gradually declined over the past few months, it may be a response to the plant’s need for a rest period. This is entirely normal, and in some cases, all the leaves may fall off. Simply keep the soil slightly drier until new growth emerges in early spring.
Temperature
12°C – 24°C (54°F – 75°F)
H1b (Hardiness Zone 12) – This plant can be grown outdoors during the summer in a sheltered location where temperatures remain above 12°C (54°F), but it is also suitable for indoor cultivation. If you choose to place the plant outdoors, ensure it does not receive more than one hour of direct sunlight per day to avoid sunburn and dehydration. Regularly check for pests, particularly when transitioning the plant back indoors.
Spread
The Oxalis plant can reach a maximum spread of up to 0.5 meters in both height and width. It typically takes between 3 to 5 years to achieve its ultimate height when provided with proper dormancy periods during winter.
Pruning & Maintenance
To promote optimal growth conditions, it is important to remove yellow or dying leaves and any plant debris. When pruning, always use clean scissors or shears to minimize the risk of bacterial and fungal diseases. Avoid cutting through yellowed tissue as this can lead to further damage and increase the chances of disease or bacterial infections. Make clean incisions to prevent plant shock, which can result in weakened growth and overall decline in plant health.
Propagation
Oxalis can be propagated through either seeds or tuber division.
Tuber Division (Easy) is best performed during the plant’s dormancy period in winter. While it is possible to propagate in spring or summer, there is a higher risk of transplant shock or damaging the delicate leaves. Once the tubers reach a length of approximately 3cm, they can be divided. Refer to the image below for guidance on where to divide the tubers.
To propagate Oxalis through tuber division, carefully remove the plant from its pot and separate the tubers by gently breaking them apart, ensuring each section has its own root system. Remove any excess soil to get a better grip if needed. Plant the new tuber about 1cm (0.4 inches) deep in a well-draining potting mix that is similar to the original soil. Using a ‘Houseplant’ compost or creating your own mix with multipurpose compost and grit or perlite is suitable. Avoid using a pot that is too large, as a higher ratio of soil to roots can lead to root rot. Place the potted tuber in a bright location with indirect light and slightly cooler temperatures. New shoots should emerge in early spring, indicating the start of the new growing season.
Flowers
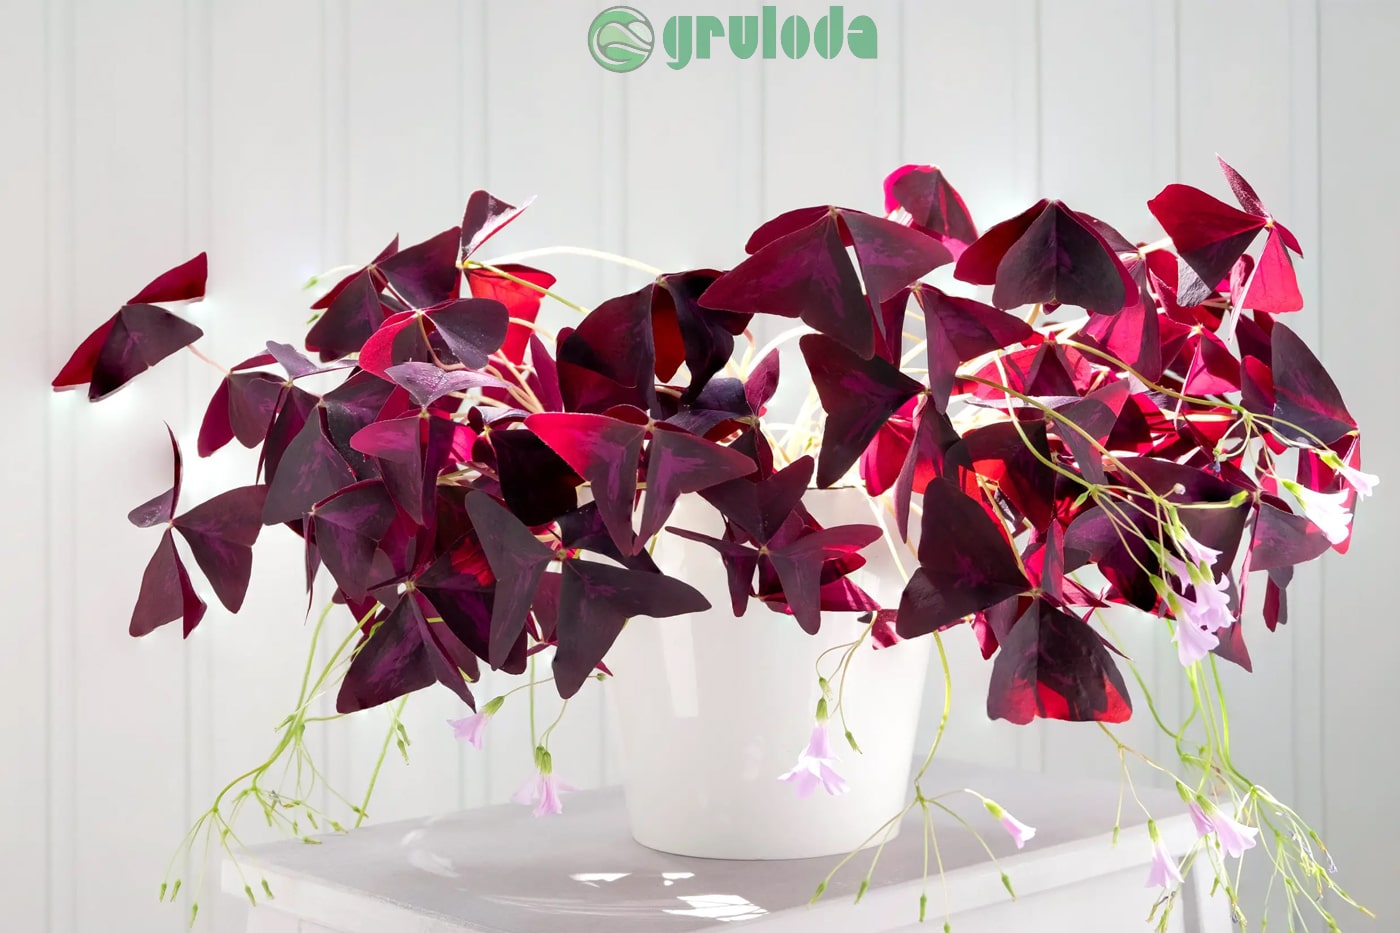
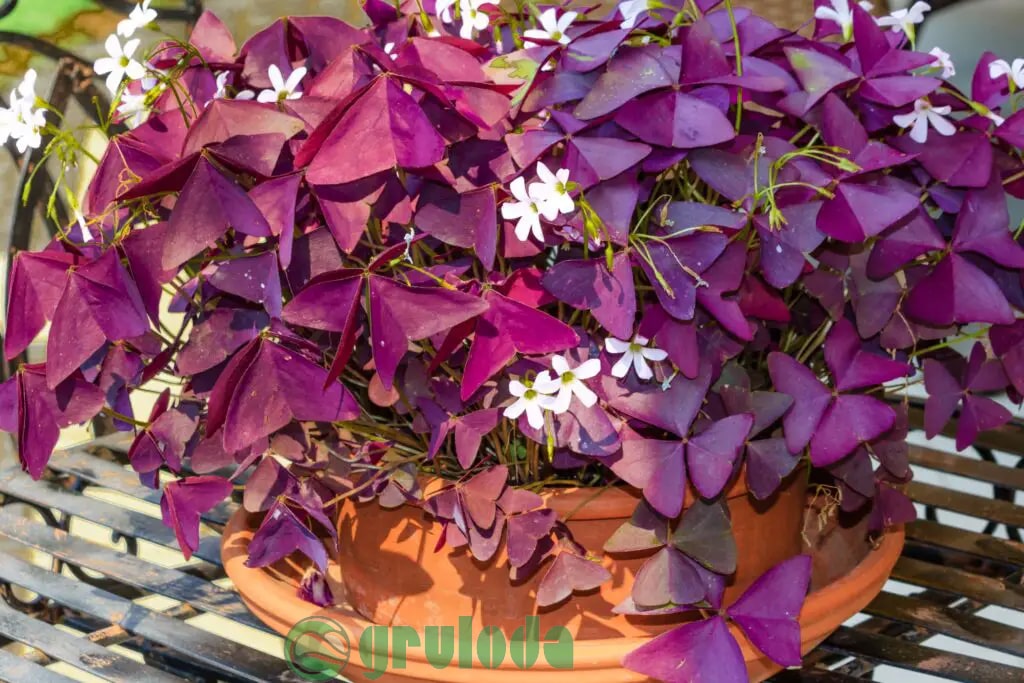
Oxalis flowers open gradually during spring and summer, typically displaying pink or white blossoms. Each flower can last for three to five days and folds up at night to protect the pollen from high winds. To ensure annual flowering, it is essential to provide a proper dormancy period during autumn and winter. This involves cooler temperatures and allowing the soil to dry out.
Repotting
It is recommended to repot Oxalis every three years in the spring. Use a pot labeled for houseplants and choose the next size up with adequate drainage. This is also an ideal time to separate the tubers into individual specimens. To minimize the risk of transplant shock, hydrate the plant 24 hours before working with the roots. For plants in darker locations, adding a thin layer of small grit at the base of the pot can improve drainage and prevent over-watering. For a detailed step-by-step guide on transplantation, click here. If you need assistance with repotting and have questions, you can book a 1-to-1 video call with Joe Bagley for personalized guidance. Joe will recommend the appropriate branded compost and pot size and provide live video support during the transplant process.
Pests & Diseases
Be vigilant for common pests such as mealybugs, aphids, spider mites, thrips, blackfly, vine weevils, and root mealybugs. These pests tend to hide in the nooks and undersides of the leaves, except for vine weevils and root mealybugs, which can be found in the soil. Oxalis is also susceptible to various diseases, including root or tuber rot, leaf-spot disease, botrytis, powdery mildew, and southern blight. For more information on these issues, you can click here.
Toxicity
It is important to note that Oxalis is considered poisonous when consumed in large quantities. Therefore, it is advisable to keep this plant away from pets and children who may have a tendency to ingest things. Ingestion of parts of the plant may cause symptoms such as vomiting, nausea, and loss of appetite, although the level of toxicity is generally considered to be low.