About Norfolk Island Pine
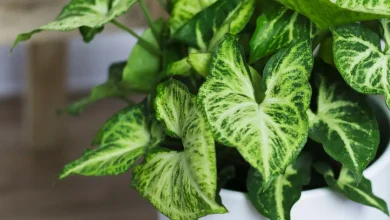
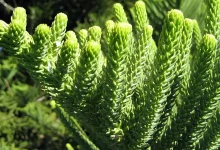
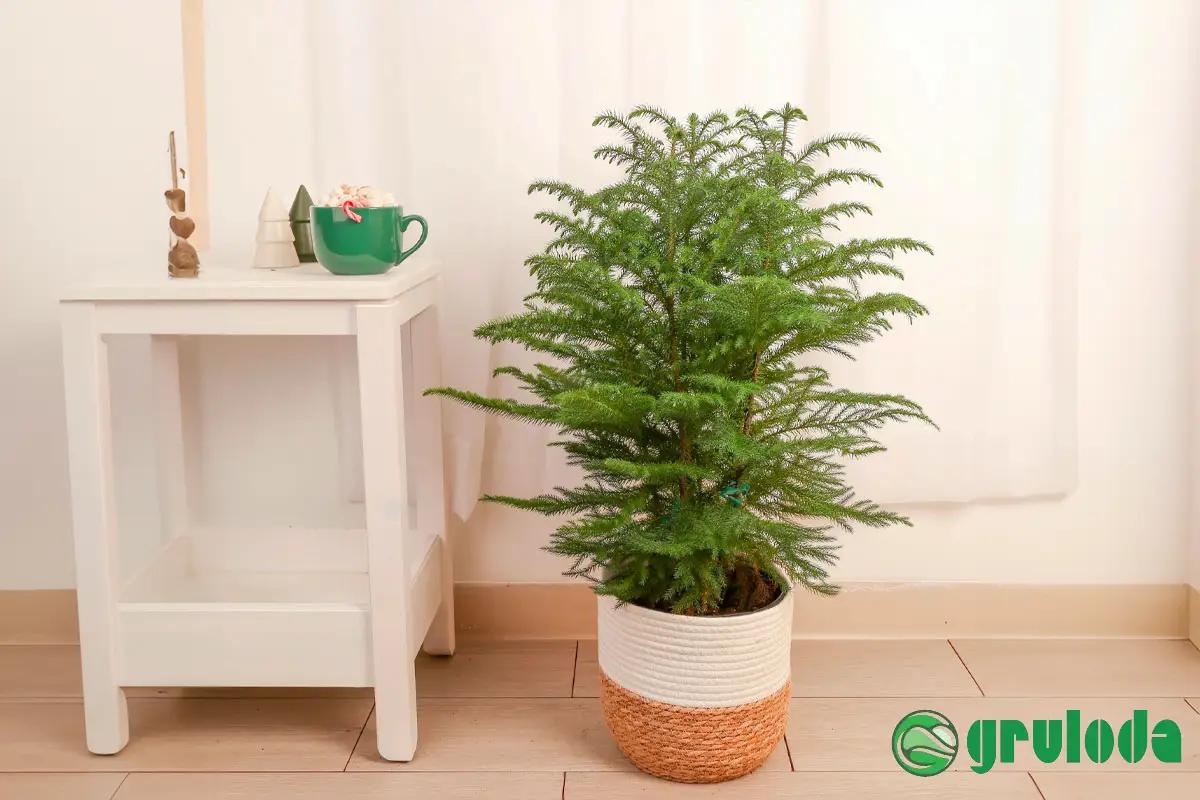
With its pyramid shape and soft, feathery foliage, the Norfolk Island Pine makes a striking accent plant in any indoor space. Despite its name, it is not a true pine but rather a tropical member of the conifer family Araucariaceae.
Native to Norfolk Island off the coast of Australia, these trees evolved to grow in warm conditions on rocky cliffs near the ocean. When kept as a houseplant, providing suitable warmth, humidity, and bright light will allow them to thrive. Their symmetrical form and horizontal branches make a living sculpture.
Ideal Growing Conditions
Give your Norfolk Island Pine the right care tailored to its preferences for a healthy, thriving houseplant. Here are its key needs:
Light Requirements
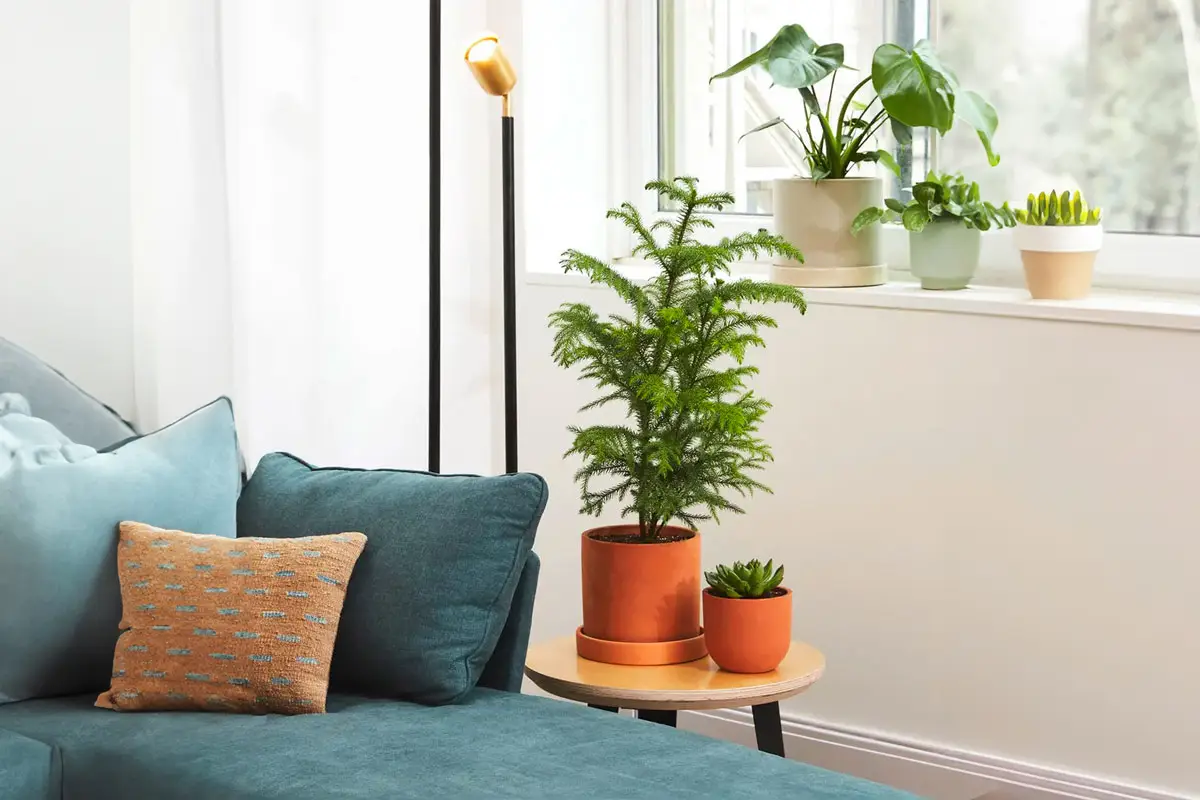
The Norfolk Island Pine needs abundant bright light to mimic its native habitat. Place it near a sunny southern or western window if possible. Some direct sun is beneficial but be cautious of scorching the foliage in excessive afternoon heat.
If light is insufficient, the foliage may start to thin and fall off. Rotate the plant periodically for even sun exposure.
Temperature
Since it hails from the tropics, the ideal temperature range is 60-75°F (16-24°C). Avoid cold drafts which can shock the plant. Cooler nighttime temps of 50°F (10°C) are fine.
Humidity
Humidity is essential for Norfolk pines to prevent dry air from damaging the foliage. Maintain a minimum humidity level of 40% but ideally closer to 60%.
Use a humidifier near the plant, mist the leaves, or place the pot on a pebble tray with water to bump up the moisture.
Soil
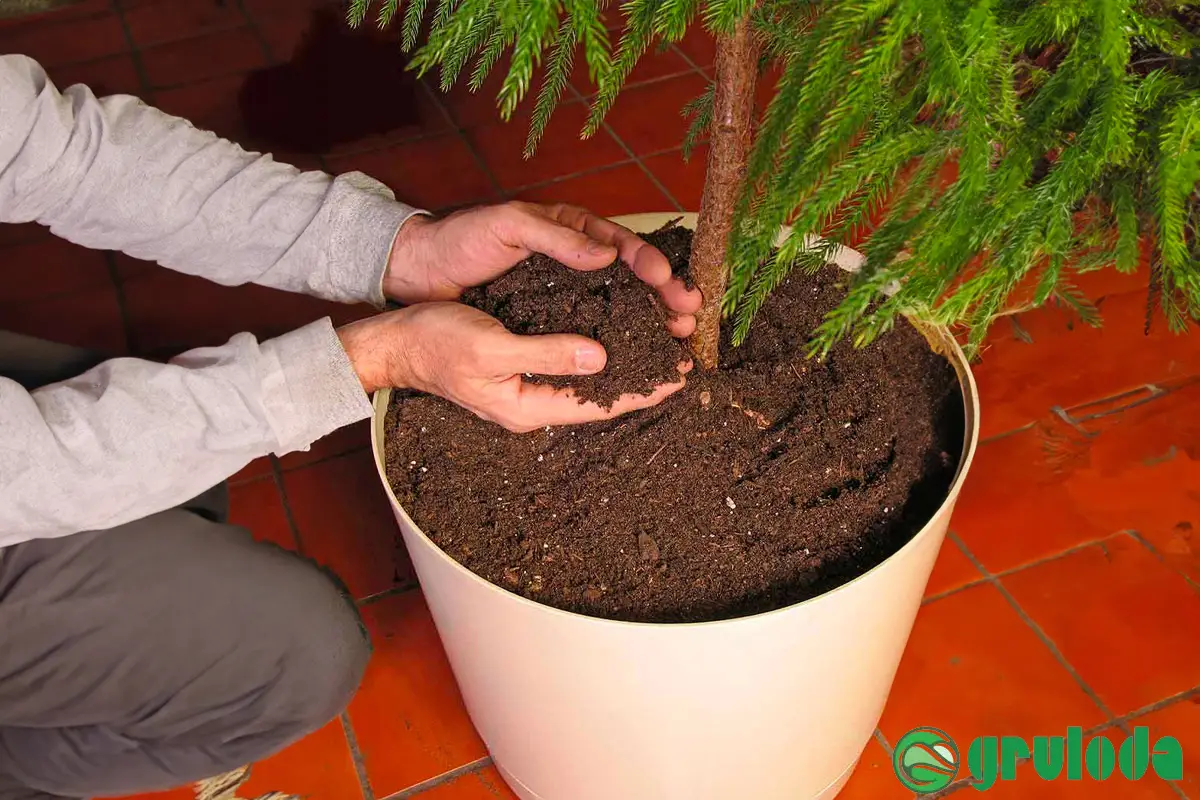
The soil should be slightly acidic and well-draining. Use a quality potting mix made for pines and conifers, or amend regular potting soil with sand and pine bark to improve drainage. Maintaining a pH around 6.0-6.5 is ideal.
Norfolk Pine Watering Instructions
Norfolk Island pines are sensitive to overwatering so maintain just the right amount of moisture.
How Often to Water
Water thoroughly when the top few inches of soil become dry. In cooler months, this may mean watering every 2-3 weeks. In hotter weather, check more frequently. The pot should drain well after watering.
Signs of Underwatering
Drooping or curling foliage that feels dry indicates underwatering. Bronzing of the needle tips can also occur. Give the plant a deep drink immediately.
Signs of Overwatering
If the soil stays soggy, root rot can set in. Yellowing or wilting foliage are telltale overwatering signs. Allow the pot to dry out before resuming a conservative watering routine.
Norfolk Pine Fertilizer
Use a gentle hand when fertilizing Norfolk Island Pines:
Type of Fertilizer
Opt for a diluted liquid fertilizer designed for pines. Look for an NPK ratio close to 20-20-20 or 10-10-10. Avoid high nitrogen formulas.
How Often to Fertilize
Fertilize every 2-3 weeks during the growing period from spring through summer. Discontinue in fall and winter. Always dilute to half strength and don’t overdo it.
Pruning Norfolk Island Pine
Some selective pruning keeps these plants tidy and shaped:
Why Prune
Main reasons to prune Norfolk Pine are to:
- Maintain symmetrical form
- Remove dead or damaged growth
- Prevent excessive size
When to Prune Norfolk Pine
Prune in late spring or early summer when new growth appears. Avoid pruning in fall heading into winter.
How to Prune Norfolk Pine
Use sharp, clean pruners to snip off dead or unsightly branches. Cut back to just above a healthy bud or branch. Also remove lower branches as needed to shape the canopy. Don’t overprune.
Repotting Care
Refresh the potting mix every couple years by repotting:
When to Repot
Repot in early spring before growth resumes. Watch for roots circling the drainage holes, signaling it’s time.
Repotting Norfolk Pine Process
Move the pine up one container size and refresh at least half the soil. Loosen any encircling roots before repotting. Keep the original soil line intact. Water well after repotting.
Propagating Norfolk Island Pine
Extend your collection by propagating new pines:
From Seed
Sow fresh seeds in a sandy potting mix. Mist often and provide warmth and humidity as they germinate over 2-3 months. Pot up seedlings when a few inches tall.
From Cuttings
Take 6 inch tip cuttings in spring or summer. Dip cut ends in rooting hormone and plant in perlite/peat moss. Enclose in a plastic bag until new growth emerges.
Norfolk Pine Problems and Solutions
Watch for these common issues with Norfolk Island Pines:
Yellowing Foliage
Usually indicates overwatering. Allow soil to dry out before watering again. Remove dead needles promptly.
Dropping Needles
Can signal underwatering, low humidity, or insufficient light. Adjust conditions and remove yellowed needles.
Branch Dieback
If branches turn brown and brittle, it’s often due to cold stress. Avoid drafts and move to a warmer spot.
Root Rot
Caused by soggy soil, evident by yellowing needles. Repot in fresh mix and do not overwater.
With the right adjustments, your Norfolk Pine can recover from these common setbacks. Consistent care tailored to its preferences will keep it thriving.
Interesting Facts About Norfolk Island Pine
- Can grow up to 200 feet tall in natural habitat, but typically under 10 feet as a houseplant.
- Norfolk Island Pines growing in southern California and Florida are descendants of those planted by early settlers.
- The wood is sometimes used to make surfboards due to its lightweight, stiff, and resilient properties.
- This species is highly unusual among conifers because it has a palm-like habit rather than a central leading shoot.
- Young trees resemble a palm, while older specimens take on a domed umbrella appearance.
- Was once endangered in the wild due to habitat destruction and now protected in Norfolk Island National Park.
Norfolk Pine Care Outdoors
some tips for caring for a Norfolk Island Pine planted outdoors:
- Norfolk Pines thrive best in warm, tropical or subtropical climates. They can be grown in USDA zones 9-11.
- Choose a sunny, sheltered location. Norfolk Pines like bright light but need protection from strong winds.
- Well-draining soil is crucial. Amend native soil with compost, pine bark, and sand to improve drainage.
- Water young trees 2-3 times per week, allowing the soil to slightly dry between waterings. Mature pines are drought-tolerant once established.
- Apply a balanced fertilizer in early spring, summer, and fall. Avoid high nitrogen products.
- Prune selectively to shape the canopy. Never remove more than 20% of the branches.
- Watch for common pests like aphids, scale, and spider mites. Treat with horticultural oils or insecticidal soap sprays.
- Protect the tree from frost and freezing temperatures which can damage the foliage.
- Mulch around the tree to help retain moisture and suppress weeds. Leave space near the trunk.
- Repot container-grown pines every 2-3 years in spring using a quality potting mix amended with sand.
With proper siting, soil preparation, and care, Norfolk Island Pines can make striking landscape specimens in warm climates. Their symmetrical form naturally complements outdoor tropical plantings.
Best Potting Soil for Norfolk Pine
some tips for choosing the best potting soil for a Norfolk Island Pine:
- Look for a lightweight, well-draining soil mix. Norfolk Pines are prone to root rot if the soil stays too wet.
- Aim for a soil labeled for pine trees or conifers specifically. This will provide the right pH and nutrients.
- You can make your own mix by combining 3 parts potting soil, 2 parts peat moss or coco coir, and 1 part perlite or coarse sand.
- Or try mixing equal parts potting soil, pine bark fines, peat moss, and builder’s sand. Add perlite as needed for extra drainage.
- Peat moss helps retain moisture while components like sand, perlite and pine bark improve drainage.
- You can also find pre-mixed conifer or citrus potting soils that will work well. Avoid regular garden soil.
- Check that the pH is slightly acidic, around 5.5-6.5. Norfolk Pines like soil on the acidic side.
- Re-pot every 2-3 years with fresh soil as old potting mix loses its nutrients.
- Good moisture-retention without staying soggy is the goal. The soil should dry out some between waterings.
With the right growing medium tailored to its needs, a Norfolk Pine will develop a healthy root system. Proper soil drainage prevents problems like root rot while supporting lush, vibrant growth.
Norfolk Pine Sunlight
The Norfolk Island Pine requires bright, direct sunlight to thrive as a houseplant. Here are some tips regarding its sunlight needs:
- Place your Norfolk Pine in a south, west, or east facing window where it will get the most direct sun exposure.
- Some direct sun is ideal, but avoid hot afternoon sun in west windows during summer which can scorch the foliage. Filter harsh light if needed.
- Rotating the plant helps prevent one side from getting too much light vs deficient light on the other side.
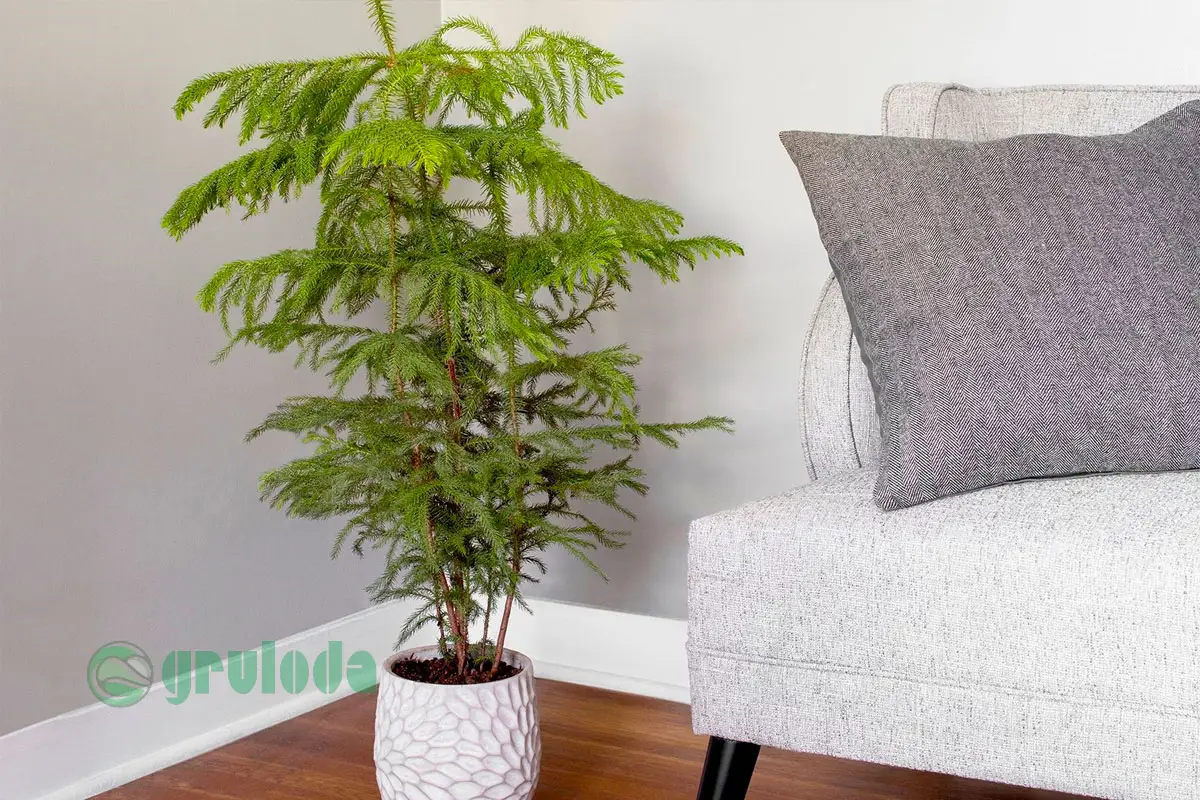
- Norfolk Pines that don’t get enough direct sun will start to lose their lower branches and look thin and leggy.
- Supplement with a grow light if your space lacks sufficient natural daylight. LED full spectrum grow lights work best.
- When grown as a houseplant, the more direct sunlight the Norfolk Pine can receive, the better. Outdoor pines need some shelter from hottest midday sun.
- Insufficient sunlight will cause the foliage to turn lime green and drop prematurely. Bottom branches will be sparse.
- Don’t place a Norfolk Pine in a corner or any consistently low light area. This will lead to decline over time.
Norfolk Island Pines really need 4-6 hours of direct sunlight daily to maintain their full, symmetrical shape and keep their branches filled in. Maximizing natural light ensures robust health.
Conclusion
With its tropical appeal and architectural form, the stately Norfolk Island Pine brings a distinctive element to indoor plant collections. Though not a true pine, its soft evergreen foliage and pyramid shape provide unique visual interest. Place this sun-loving conifer in a bright spot with warmth, humidity, and well-draining soil for best results. Avoid overwatering, which it is sensitive to. With the right care, your Norfolk Island Pine can flourish for years as a standout houseplant specimen.
FAQs
How long do Norfolk Island Pines live?
Indoors, a Norfolk Island Pine can live for 20-30 years with proper care. Its potential lifespan is over 100 years when grown outside in suitable climates.
Should I mist my Norfolk Island Pine?
Occasional misting is beneficial to provide added humidity and prevent the foliage from drying out. Just be cautious of overwatering the soil.
What light level is best for a Norfolk Pine?
Bright light is ideal, even a few hours of direct sun. Insufficient light causes sparse, drooping foliage. Place near a sunny south or west window if possible.
Why are the needles turning yellow and dropping?
Yellowing/dropping needles usually signals overwatering issues. Allow the soil to dry out completely before watering again. Low humidity and insufficient light can also cause needle drop.
How can I get my Norfolk Pine to grow fuller?
Make sure it receives ample bright light. Turn the plant periodically for even sun exposure to all sides. Providing supplemental humidity will also encourage healthy, lush new growth.